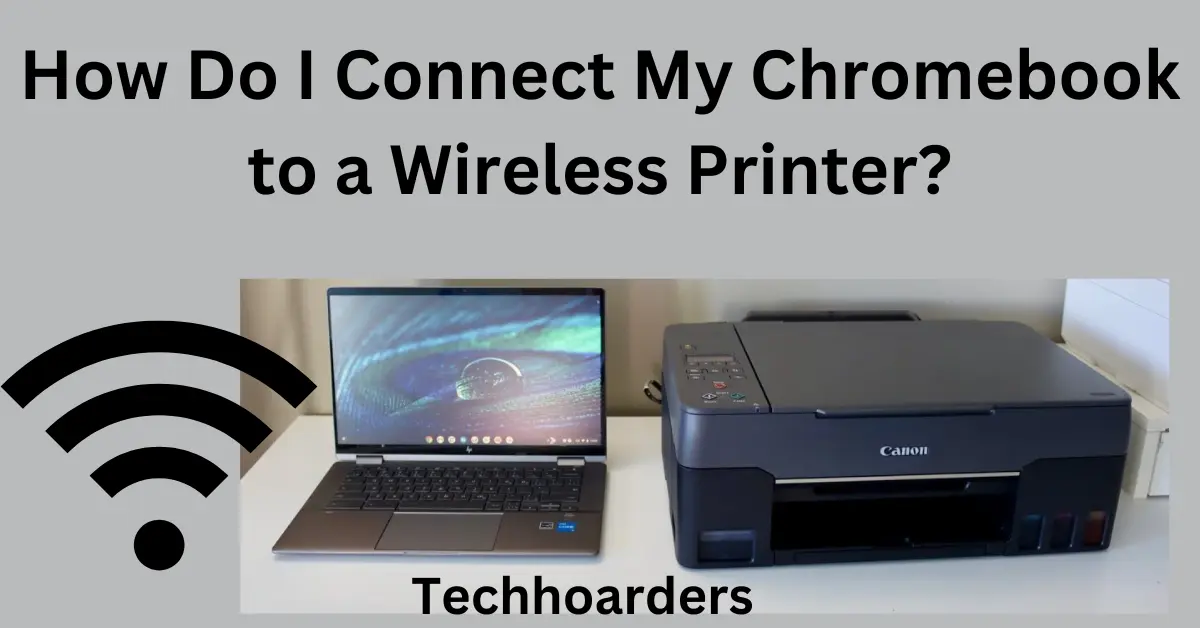
If you’re using my Chromebook and need to print documents, you may be wondering how to connect your Chromebook to a wireless printer. It’s actually pretty easy! In this blog post, we will walk you through the process step-by-step. Keep reading for instructions on how to set up your printer and start printing from your Chromebook!
How Do I Connect My Chromebook to a Wireless Printer?
If you’re using a Chromebook, you can connect to a wireless printer by following these steps:
First, make sure that your printer is turned on and connected to the same Wi-Fi network as your Chromebook. Next, open the Chrome browser on your Chromebook and type “chrome://settings/devices” into the address bar. In the “Devices” section of Chrome settings, click “Add Printer.” Your Chromebook will search for available printers and display a list of any that are found. Select your printer from the list and click “Add.” That’s it! You should now be able to print from your Chromebook.
How to Setup a Printer on my Chromebook Using a USB Cable?
First, connect one end of the USB cable to the printer and plug the other end into an available port on your Chromebook. Next, open the Chrome browser and type “chrome://settings/devices” into the address bar. In the “Devices” section of Chrome settings, click “Add Printer.” Your Chromebook will search for available printers and display a list of any that are found. Select your printer from the list and click “Add.” That’s it! You should now be able to print from your Chromebook using a USB cable.
![]()
How Do I Manually Add a Printer to My Chromebook?
You can manually add a printer to your Chromebook by following these steps:
First, open the Chrome browser and type “chrome://settings/devices” into the address bar. In the “Devices” section of Chrome settings, click “Add Printer.” Next, select the option to “Manually add a printer.” Enter the IP address or hostname of your printer into the field provided and click “Add.” That’s it! Your Chromebook should now be able to print to your printer.
Printing a Document on My Chromebook
Once you have your printer set up and connected to your Chromebook, printing documents is easy! Just open the document that you want to print and click the “Print” button in the upper-right corner. A print preview window will appear; from here, you can make any necessary changes to your print settings and then click the “Print” button again to send your document to the printer.
Troubleshooting Printer on My Chromebook
If you’re having trouble connecting or printing from your Chromebook, there are a few troubleshooting tips that may help:
- First, make sure that your printer is turned on and connected to the same Wi-Fi network as your Chromebook.
- Next, open the Chrome browser on your Chromebook and type “chrome://settings/devices” into the address bar. In the “Devices” section of Chrome settings, click “Add Printer.” Your Chromebook will search for available printers and display a list of any that are found. Select your printer from the list and click “Add.”
- If you’re still having trouble connecting or printing, try restarting both your Chromebook and your printer.
- Finally, if you’re using a USB cable to connect your printer to your Chromebook, make sure that the cable is securely plugged into both devices.
If you’ve tried all of these troubleshooting tips and are still having trouble printing from your Chromebook, we recommend checking out our full guide to printing from my Chromebook.
Final Thoughts
We hope this blog post has helped you learn how to connect your Chromebook to a wireless printer. If you have any questions or need assistance, feel free to reach out to our team of experts for help. Thanks for reading and happy printing!
