Mechanical keyboards are popular for their tactile feedback and durability, but over time, the keys may become dirty or damaged, and you may need to remove them for cleaning or replacement. However, removing keys from a mechanical keyboard requires some care and attention to avoid damaging the keyboard. In this article, I will explain how to safely remove keys from a mechanical keyboard.
Why would I need to remove keys from my keyboard?
There are several reasons why you might need to remove keys from your keyboard. For example, if a key is sticking or not functioning properly, you may need to remove it to clean or replace the switch. Additionally, if you want to clean your keyboard thoroughly, you may need to remove the keys to access the surface beneath them.
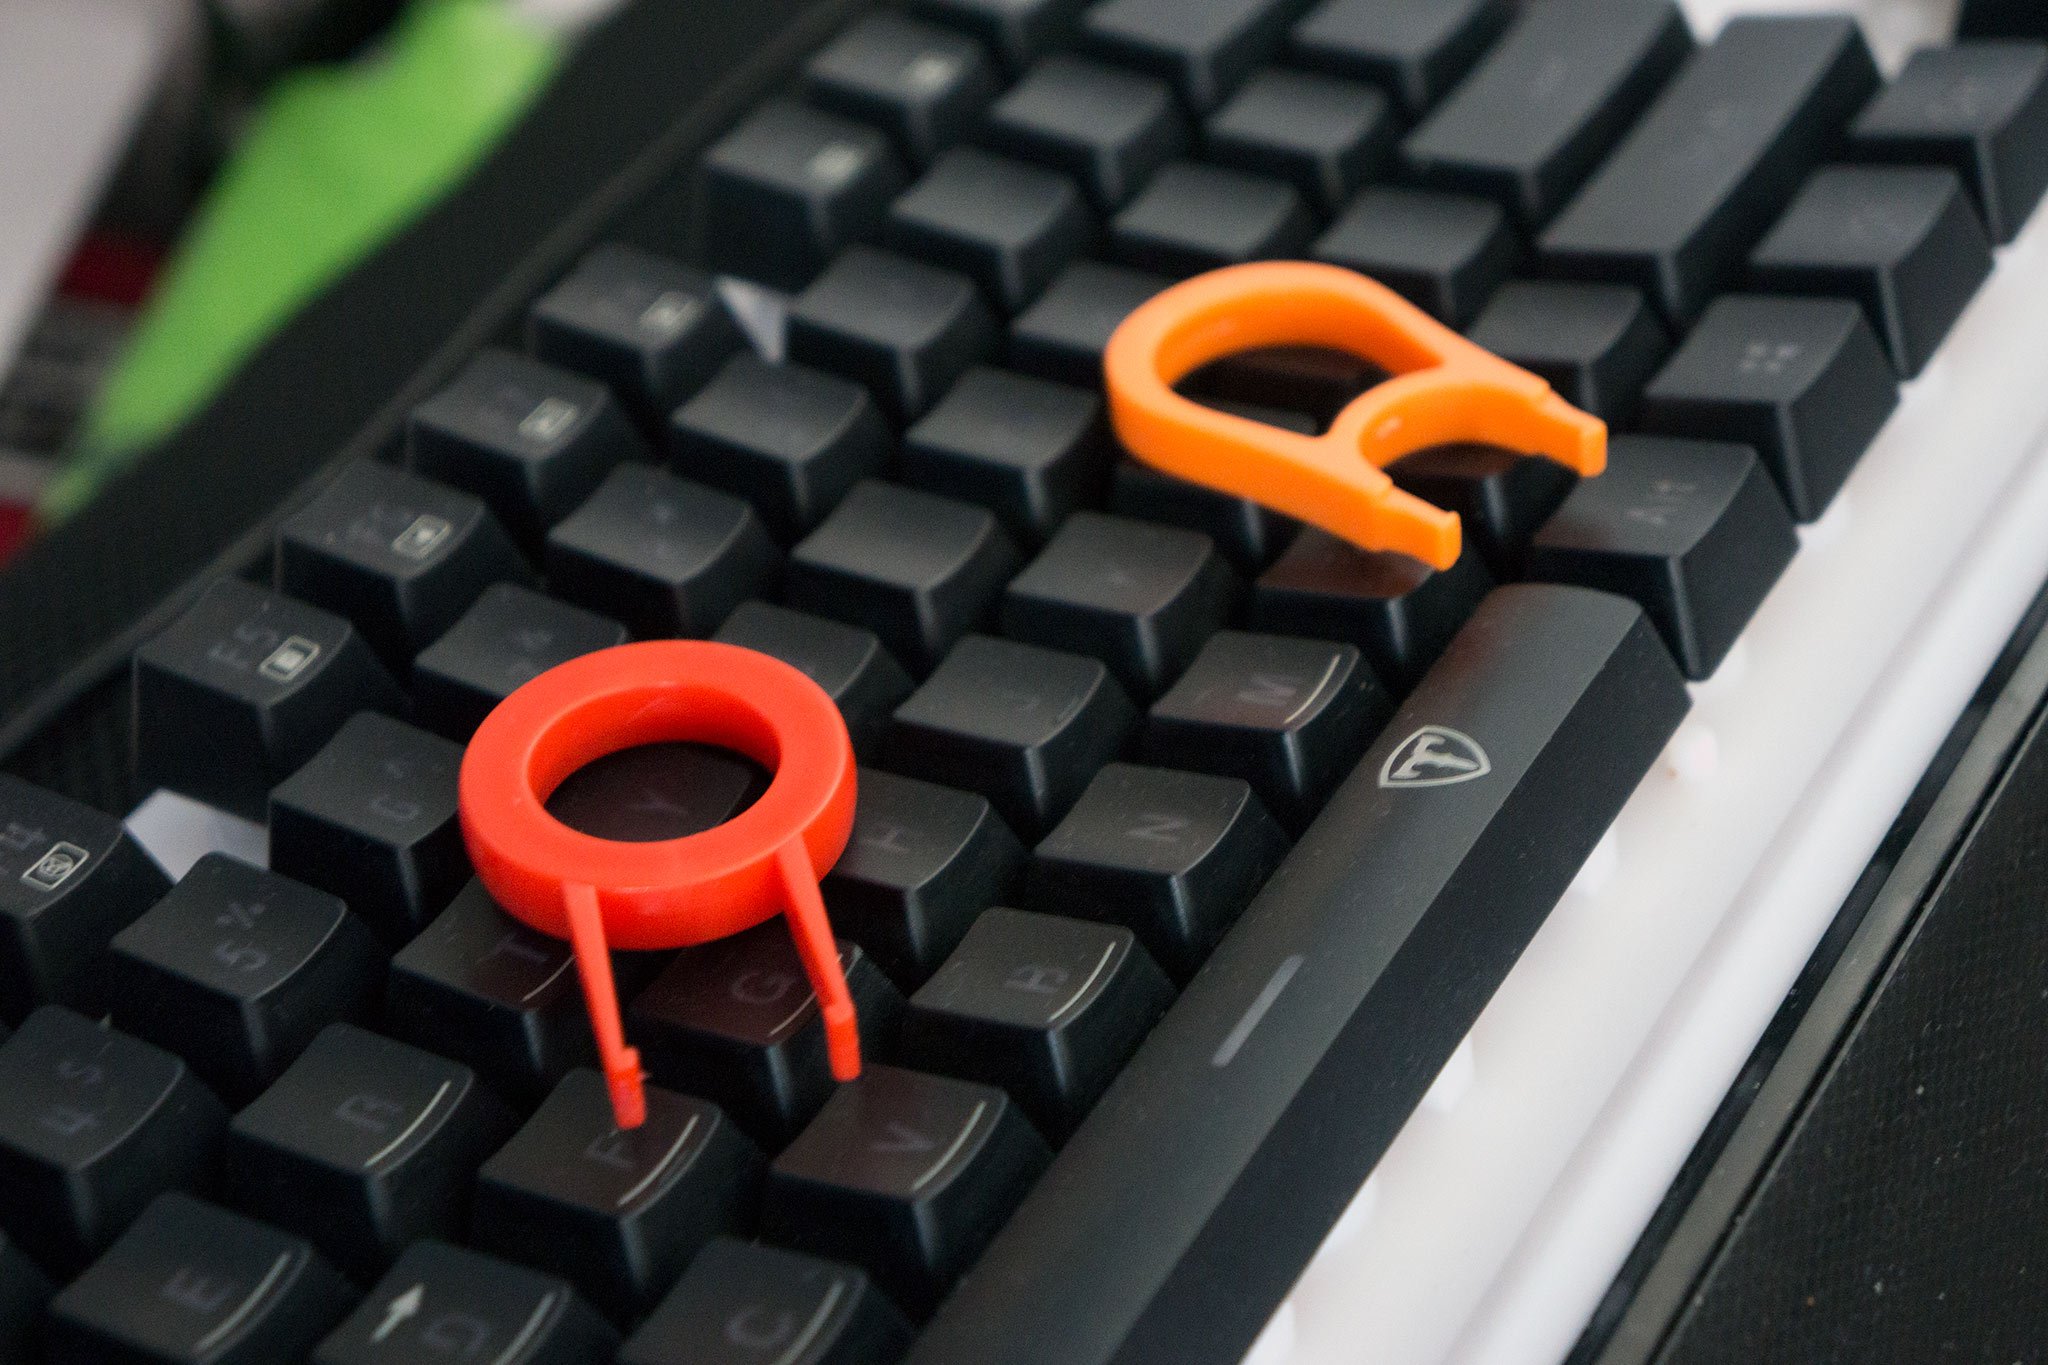
How do I remove keys from my mechanical keyboard?
To remove a key from a mechanical keyboard, gently pry the keycap up using a keycap puller or a small flathead screwdriver. Pull upwards until the keycap pops off. Be careful not to damage the switch underneath the keycap.
Can I remove all keys from my keyboard at once?
While it is technically possible to remove all the keys from your keyboard at once, it is not recommended. Removing multiple keys simultaneously increases the risk of damaging the switches or losing small parts. Instead, it is best to remove and replace keys one at a time.
How do I clean the keys once they are removed?
Once you have removed the keycap, you can clean it using a damp cloth or a gentle cleaning solution. Do not use any harsh chemicals, as these can damage the keycap’s finish.
How do I put the keys back onto my keyboard?
To replace a keycap, simply align the keycap over the switch and press down until it clicks into place. Be sure to align the keycap correctly, as some keys may have different shapes or sizes. If you are having trouble replacing a keycap, try repositioning it slightly and pressing down again.